Saturday, February 16, 2013

reNEW

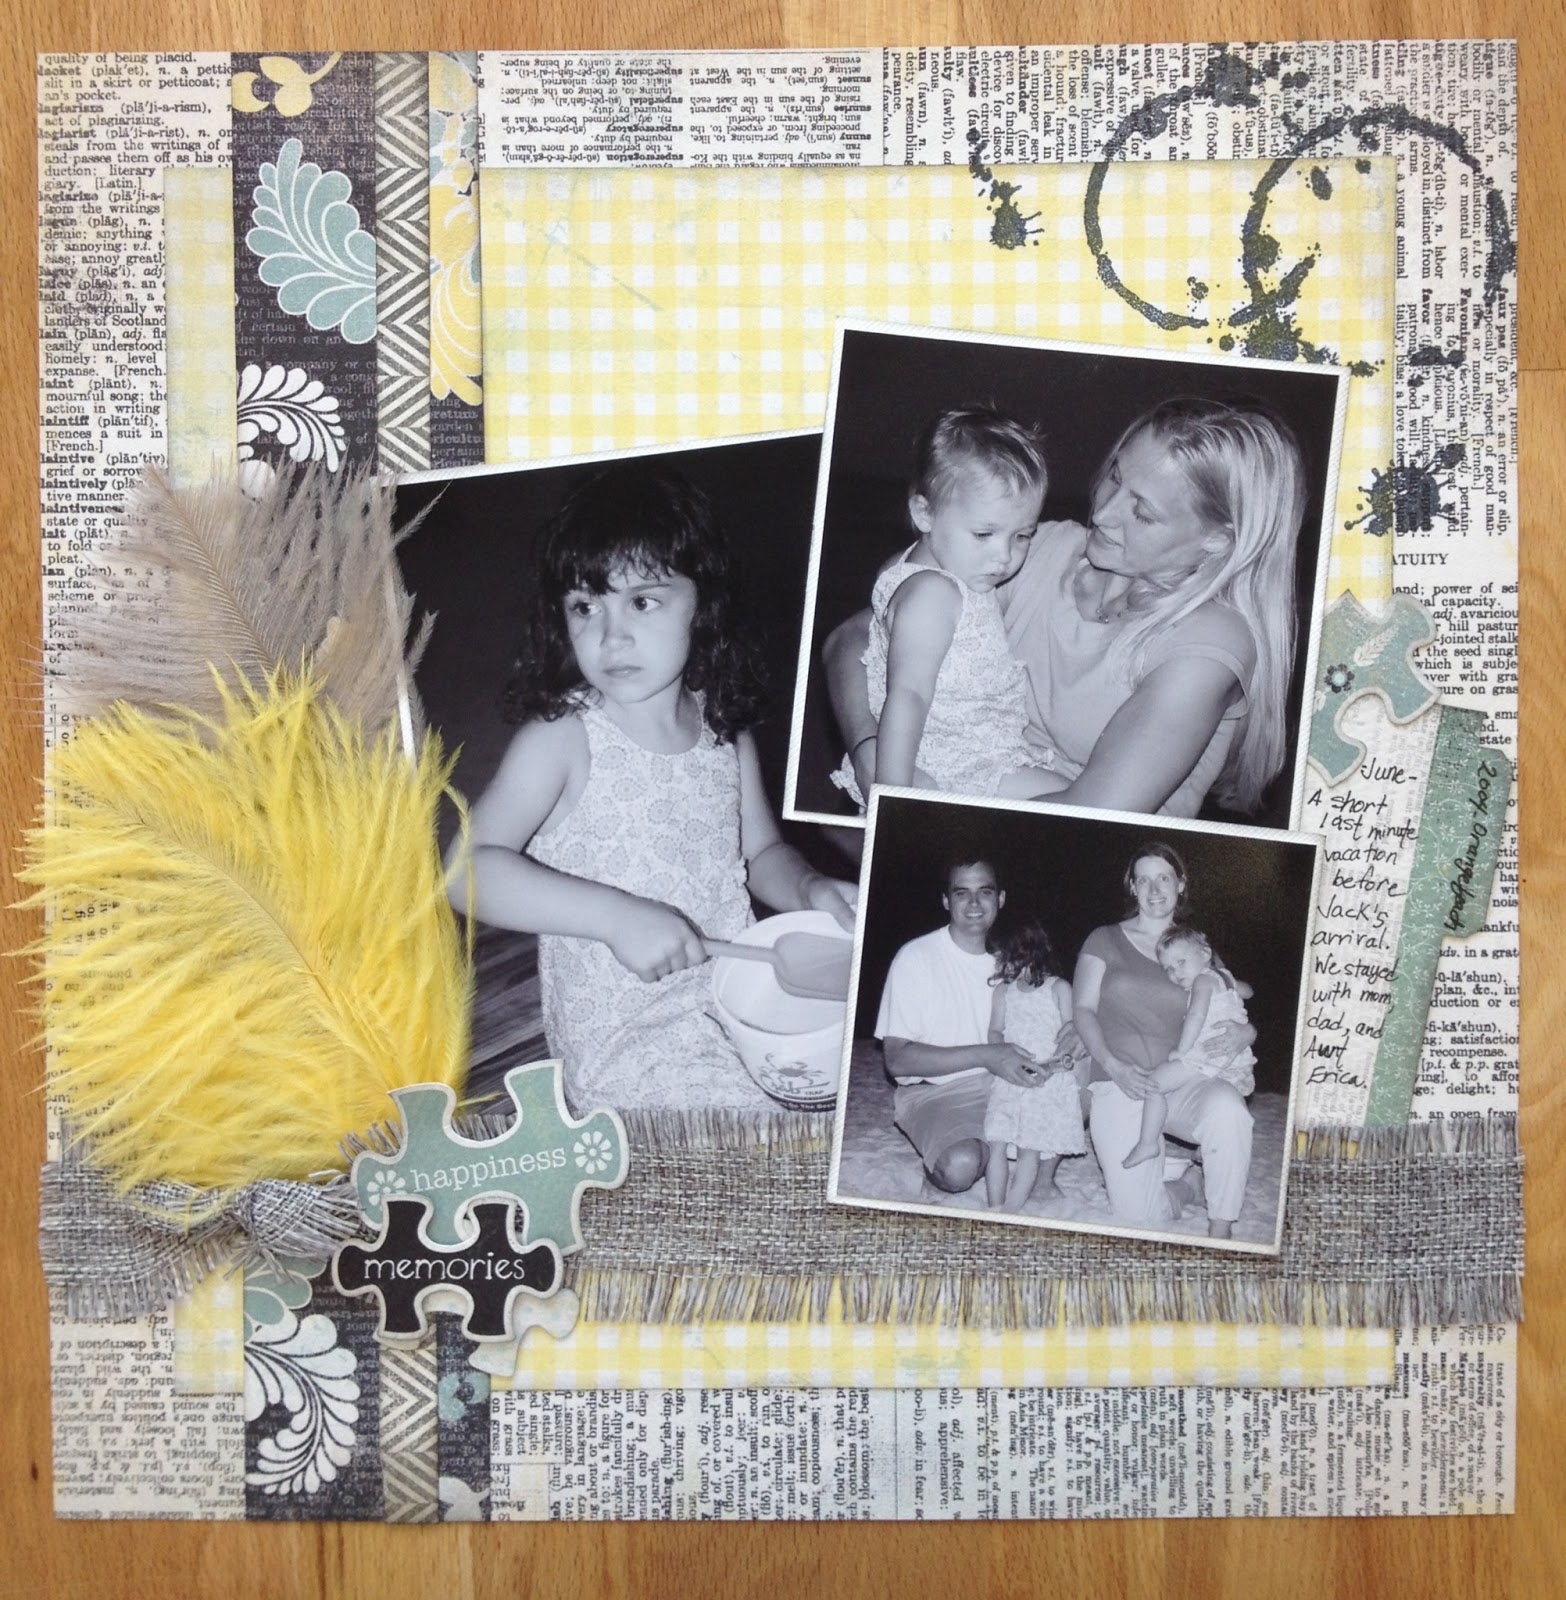
It has been a busy couple of weeks at the store.  I have been greeted each day by what seems like an endless parade of UPS and FEDEX men.  It is always a good time when new papers arrive and I am motivated once again to return to my scrapbooking.  I seem to always be behind in printing current pictures so I flipped through a few of the girls' old albums in serach of something that had not yet been scrapbooked.  I came across these black and white photos from a quick beach vacation a couple months before jack was born.  I thought they would be great with one of my favorite new paper collections - RENEW by Authentique.


I was also excited to use the stain stamp from BoBunny - don't you love the ring stains at the top right corner.  And of course I needed to open up a few feathers from Bella Blvd and use a bit of smoke colored burlap from Maya Rd.

Supply list:
Authentique Flourish
Authentique Energize
Authentique Rejuvenate
Authentique Renew mini notes
Authentique Renew Puzzle pieces
Bella Blvd Feathers Bell Pepper and Oyster
Maya Road Smoke Burlap
Bazzill Lily White cardstock
BoBunny Stained texture stamp

Friday, February 1, 2013

Playing with the queen of hearts

I think this is a very fitting first post for me.  I decided to make time today to do a version of Tim's tags.  I love Tim's Tags for the inspiration and ideas they provide.  This set of blueprint stamps has been staring at me for weeks and this was a good excuse to open it up and color on it.  I was a little afraid to try copics on the card stamp at first - they seem more distress marker appropriate, but I thought I would give it a try and love it! I must use the card stamp in the next copic class.


 Here are the basic steps I did.  I sprayed the tag with 2 shades of Tattered Angels glimmer mist (my pink and red distress stains must have grown legs and walked off somewhere!).  I then distressed the edge with Tim's distress tool and inked the edge with black ink.  I stamped the tag with the card stamp.  And also stamped 2 more times on regular white and x-press blend papers.  I cut the queen out of the xpress blend and colored with copics.  I attached her with rolled up glue dots onto the white card.  I then cut out the card out of white, colored the hearts with copics and inked with tea dye. oh and added a little stickles to the hearts. I used some Jenni Bowlin coredinations in black and red, as it was handy, and found a cute saying on the paper "fancied at first sight" in the red.  I embossed the black with craft core using a handwriting embossing folder.   I attached both using glossy accents.  I cut the "2" off the bottom of a 1/2 mini numeral and added to the bottom of the tag.  I used some Bazzill antique paper and some chit chat words to make my cash key.  Mine says "You and Me"  I used red twine to tie it to the tag - but I have to say I really needed the black and white paper string Tim used.  I also added a "kiss" word tag.  I did the same technique for the paper tape ribbon that tim did, but wanted more.  The last touch I added was to color silver tinsel twine with a combination of red pepper adirondak alcohol ink and ruby vintaj patina ink.   Below is a picture of some the supplies I used, but of course if you stop in the store I can show you in more detail!


Lesley